WordPress Emails Not Working on Hostinger? Here’s the Fix!
-
By admin-procom
- •
How to Configure WP Mail SMTP with Hostinger (2026 Guide)
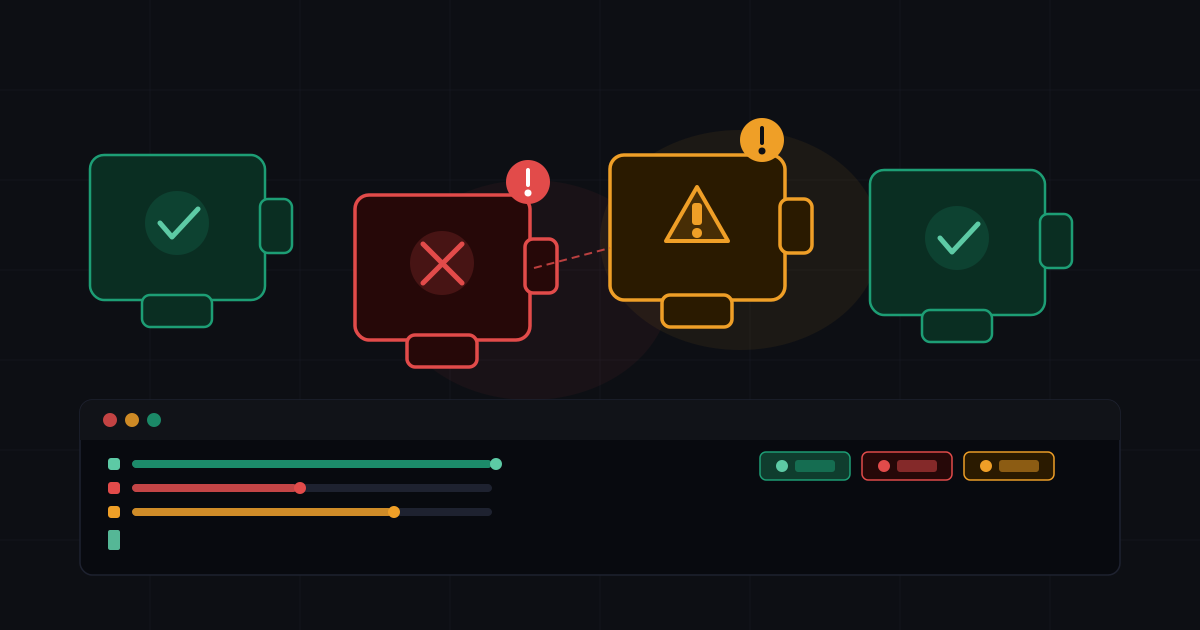
Are your WordPress emails vanishing into the void? Contact form submissions not reaching you? WooCommerce order confirmations lost in space? You’re not alone! Many WordPress users, especially those on shared hosting like Hostinger, face frustrating email delivery issues.
The culprit? Often, it’s your hosting provider blocking the default PHP mail() function to prevent spam. While this is a necessary security measure for hosts, it can cripple your website’s essential communication.
But don’t despair! The solution is surprisingly simple and requires absolutely no coding: WP Mail SMTP.
Why Your WordPress Emails Fail & WP Mail SMTP is the Solution
WordPress’s default email system often fails because many hosts (like Hostinger) block the insecure PHP mail() function, leading to emails landing in spam or not sending at all.
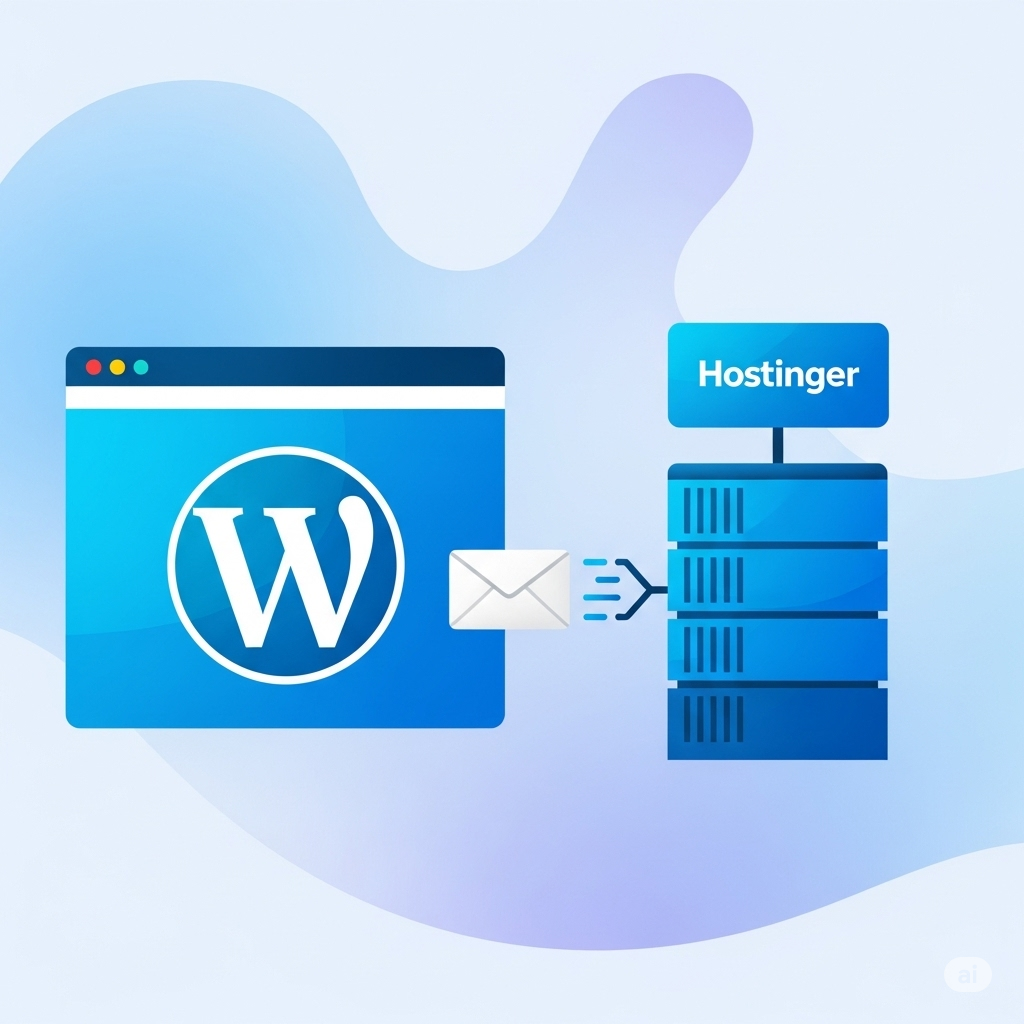
WP Mail SMTP fixes this by sending emails through a real SMTP server, ensuring authenticated delivery, improved security, and better tracking. It’s the key to reliable WordPress email.
Pre-Requisites for a Smooth Setup
Before we dive into the configuration, make sure you have these in place:
- A WordPress Website: This guide assumes you have a functional WordPress installation.
- A Hostinger Hosting Account: Your site should be hosted with Hostinger.
- An Email Address Created on Hostinger: You’ll need a professional email address like
info@yourdomain.com. If you haven’t created one, head over to your Hostinger hPanel:hPanel → Emails → Email Accounts.
Step-by-Step: Setting Up WP Mail SMTP with Hostinger
Let’s get your emails flowing smoothly!
Step 1: Install the WP Mail SMTP Plugin
Log in to your WordPress Admin Dashboard.
Navigate to Plugins → Add New.
In the search bar, type “WP Mail SMTP” and look for the plugin by WPForms.
Click Install Now, then Activate.
Step 2: Open WP Mail SMTP Settings
Once activated, you’ll see a new menu item. Go to WP Mail SMTP → Settings.
Under the “Mailer” section, choose “Other SMTP”. This is the optimal choice for connecting directly to Hostinger’s email server.
Step 3: Configure Your SMTP Settings
Now for the core of the setup! You’ll need to input your Hostinger email server details.
First, set your “From Email” and “From Name”
Hostinger SMTP Settings (for your reference):
| Field | Value |
|---|---|
| SMTP Host | smtp.hostinger.com |
| SMTP Port | 465 (for SSL) or 587 (for TLS) |
| Encryption | SSL (or TLS if using port 587) |
| Authentication | Yes |
| SMTP Username | Your full email address (e.g., info@yourdomain.com) |
| SMTP Password | Your email password |
Fill in the WP Mail SMTP form as follows:
- From Email: Enter your full Hostinger email address (e.g.,
info@yourdomain.com). - From Name: Type your business or site name (e.g., “My Awesome Website”). This is what recipients will see.
- Mailer: Should already be “Other SMTP”.
- Return Path: Check “Set the return-path to match the From Email”.
- SMTP Host:
smtp.hostinger.com - Encryption: Select SSL (this is usually the default and most secure).
- SMTP Port:
465(This port works with SSL). If you encounter issues later, try587with TLS. - Auto TLS: Leave this enabled.
- Authentication: Ensure Yes is selected.
- SMTP Username: Your full Hostinger email address (e.g.,
info@yourdomain.com). - SMTP Password: The password for your Hostinger email account.
Crucially, click Save Settings after filling in all the details.
Step 4: Send a Test Email
This is the moment of truth!
Go to WP Mail SMTP → Tools → Email Test.
Enter an external email address where you can check for the test email (e.g., your personal Gmail or Outlook address).
Click Send Email.
If successful: You’ll see a glorious green success message confirming your email was sent! Check your inbox (and spam folder, just in case).
If the email fails: Don’t panic
- Double-check your SMTP username and password. A tiny typo can break everything.
- Try switching the port and encryption: Change Encryption to TLS and SMTP Port to 587. Save settings and re-test.
- Check Hostinger’s email logs: Head to
hPanel → Emails → Email Delivery Logsfor server-side error messages.
Step 5: Set Up SPF and DKIM Records (Crucial for Deliverability!)
This step is often overlooked but is vital for ensuring your emails land in the inbox and not the spam folder. SPF (Sender Policy Framework) and DKIM (DomainKeys Identified Mail) are like digital signatures that prove your emails are legitimate and haven’t been tampered with.
Why are SPF and DKIM so important? Without these records, email providers might flag your emails as suspicious or outright reject them, thinking they are spam or phishing attempts.
How to Set Them Up: Hostinger often automatically configures these records when you set up your email account. However, it’s always good to verify.
Step 6: Troubleshooting Tips (If All Else Fails)
If you’re still facing email delivery issues after all the steps:
- Switch Encryption and Port: If you started with 465 (SSL), try 587 (TLS) and vice-versa. Always save settings and send a test email after each change.
- Verify Credentials: It bears repeating: ensure your SMTP username (full email address) and SMTP password are 100% correct. Even a single character can cause failure.
- DNS Propagation: If you just added or modified SPF/DKIM records, allow some time (a few hours, sometimes up to 24) for them to propagate across the internet.
- Hostinger Email Delivery Logs: This is your best friend for server-side debugging. Check
hPanel → Emails → Email Delivery Logsfor specific error messages from Hostinger’s end. - Contact Hostinger Support: If you’re truly stuck, don’t hesitate to reach out to Hostinger’s customer support. They can check server-side issues and offer specific advice.
Say Goodbye to Lost Emails!
By following this comprehensive guide, you’ll have successfully configured WP Mail SMTP with your Hostinger account. No more missed contact form submissions, no more unconfirmed orders, and no more password reset headaches. Your WordPress site will now communicate reliably and professionally.
Happy emailing!
Frequently asked questions
Q: Why are WordPress emails not working on Hostinger?
A: WordPress emails may stop working on Hostinger due to incorrect SMTP settings, disabled PHP mail functions, plugin conflicts, or server email restrictions.
Q: What is the best way to fix WordPress email issues on Hostinger?
A: The most reliable solution is to configure SMTP instead of using the default PHP mail function. SMTP improves email delivery and reduces the chances of emails going to spam.
Q: Which SMTP plugin is recommended for WordPress?
A: Popular SMTP plugins include WP Mail SMTP, FluentSMTP, and Post SMTP. These plugins help configure secure email delivery for WordPress websites.
Q: Why are WooCommerce order emails going to spam?
A: WooCommerce emails may go to spam if your domain lacks proper email authentication records like SPF, DKIM, and DMARC, or if the server reputation is poor.
Q: How can I test whether WordPress emails are working correctly?
A: You can use SMTP plugins that include email testing features to send test emails and confirm whether your WordPress website is delivering emails successfully.